Old-Fashioned Chocolate Fudge
A timeless, creamy classic made the traditional way
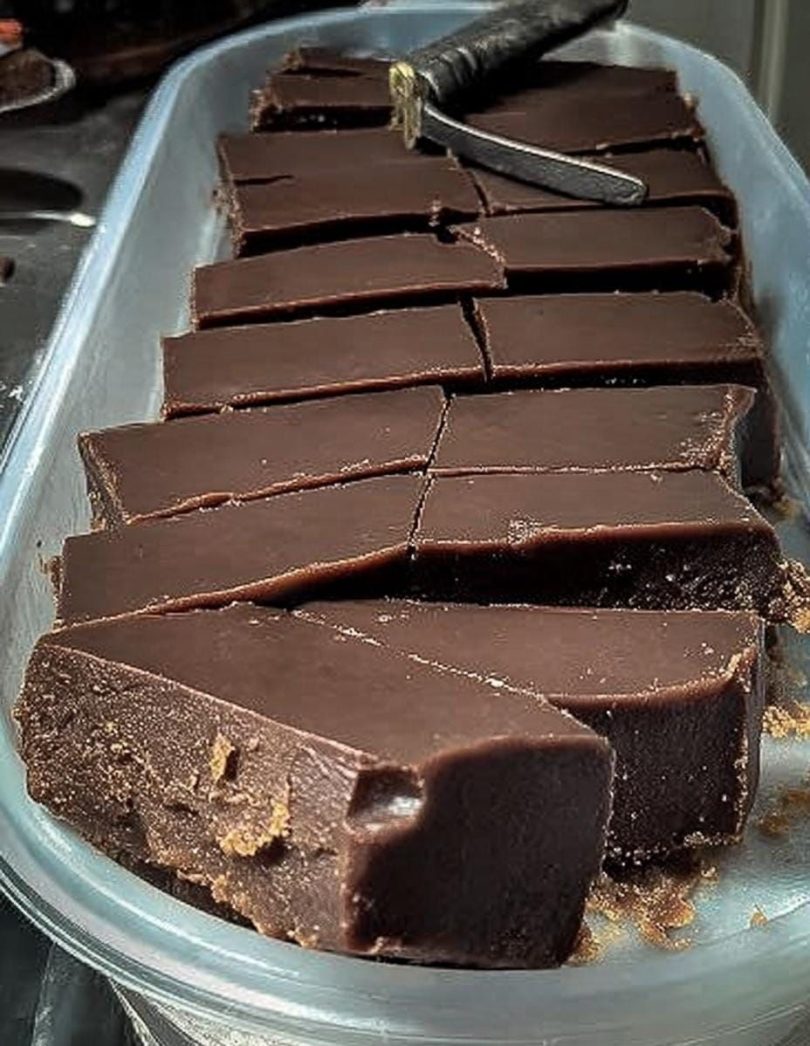
Old-fashioned fudge is one of those nostalgic treats that instantly brings back memories of holidays, family kitchens, and handwritten recipe cards. Made with just a handful of pantry staples, this classic chocolate fudge relies on technique rather than shortcuts. No marshmallows, no condensed milk—just slow cooking, careful cooling, and a little patience to achieve that smooth, rich, melt-in-your-mouth texture.
This recipe follows the traditional method that candy makers have used for generations, producing fudge with deep chocolate flavor and a perfectly creamy bite.
A Brief History of Old-Fashioned Fudge
Fudge became popular in the United States in the late 19th century, especially at women’s colleges and seaside shops. Early versions were cooked on the stovetop and required precision and practice. This method—using sugar, milk, cocoa, and butter—became the gold standard and is still loved today for its authentic texture and flavor.
Why You’ll Love This Recipe
-
Classic, authentic fudge texture
-
No shortcuts or special ingredients
-
Rich chocolate flavor
-
Perfect for holidays and gifting
-
A true old-fashioned technique
Ingredients
-
2 cups white sugar
-
½ cup unsweetened cocoa powder
-
1 cup whole milk
-
4 tablespoons unsalted butter, sliced and softened
-
1 teaspoon vanilla extract
How to Make Old-Fashioned Fudge
Step 1 – Prepare the Pan
Lightly grease an 8-inch square baking pan and set aside.
Step 2 – Combine Ingredients
In a medium saucepan, combine the sugar and cocoa powder. Pour in the milk and stir until well blended.
Step 3 – Bring to a Boil
Place the saucepan over medium-high heat, stirring constantly until the mixture comes to a full boil.
Step 4 – Simmer to Soft-Ball Stage
Reduce the heat to low and place a candy thermometer in the pan.
Allow the mixture to simmer without stirring until it reaches 238°F (114°C), about 10 minutes.
No thermometer?
Drop a small amount into cold water. If it forms a soft ball that flattens when removed, it’s ready.
Step 5 – Cool Undisturbed
Remove from heat and allow the mixture to cool to 110°F (43°C), about 50–70 minutes.
Do not stir or disturb during cooling—this step is crucial.
Step 6 – Beat the Fudge
Add the butter and vanilla. Beat with a wooden spoon until fully incorporated and the fudge loses its glossy sheen. This step sets the creamy texture—do not underbeat.
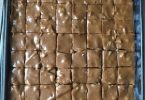
Step 7 – Set the Fudge
Pour the fudge into the prepared pan and gently press to level.
Let cool at room temperature or refrigerate until firm.
Step 8 – Cut and Serve
Cut into 1-inch squares and enjoy.
Candy Formation & Texture Tips
-
Stirring during boiling can cause grainy fudge
-
Cooling undisturbed allows sugar crystals to form properly
-
Beating at the right temperature creates smooth, creamy fudge
-
Overbeating can cause crumbly texture—stop once it thickens
Variations & Add-Ins
-
Nutty: Stir in chopped walnuts or pecans before pouring
-
Extra Chocolate: Add chocolate chips while beating
-
Salted: Sprinkle flaky sea salt on top before setting
-
Mint: Replace vanilla with peppermint extract
Storage & Shelf Life
-
Store in an airtight container at room temperature for 1 week
-
Refrigerate for up to 2–3 weeks
-
Freeze for up to 3 months (wrap tightly)
Who Will Love This Fudge?
-
Traditional candy lovers
-
Holiday bakers
-
Chocolate enthusiasts
-
Gift-givers
-
Anyone who enjoys classic homemade sweets
Conclusion
Old-fashioned chocolate fudge is proof that simple ingredients and time-tested techniques still reign supreme. Smooth, rich, and deeply chocolatey, this recipe delivers the authentic texture and flavor that modern shortcuts just can’t match. Once you master this classic method, you’ll have a candy recipe you’ll return to for years to come.