Simple DIY Guide to Make Your Car Headlights Look Brand New
Restore clarity, improve visibility, and make your car shine with this budget-friendly headlight restoration tutorial.
Why You’ll Love This DIY Headlight Restoration Method
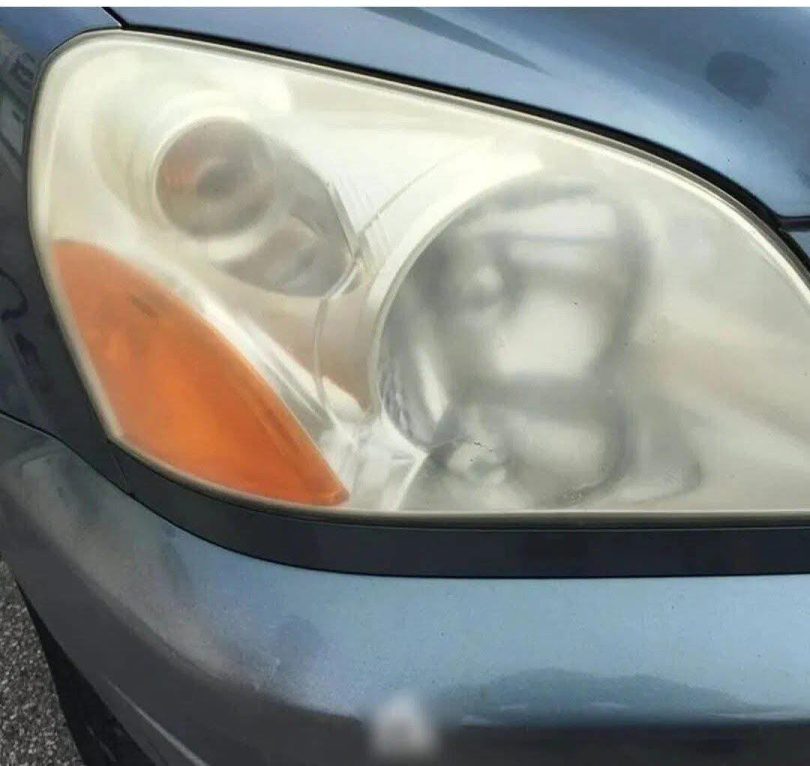
Over time, your car’s headlights can become foggy, yellowed, or oxidized, making your vehicle look older and reducing visibility at night. But don’t worry—you don’t need to spend hundreds on replacements. With this simple headlight cleaning method, you can restore your lights’ shine and functionality in under an hour using just a few household tools. Best of all, it costs less than $15!
What You’ll Need (Ingredients for Success)
- Warm Soapy Water – Loosens surface dirt and grime before sanding.
- Masking Tape – Protects your car’s paint around the headlight lenses.
- Sandpaper (1000, 1500, and 2500 grit) – Gradually smooths out the oxidized layer from rough to fine finish.
- Water Spray Bottle or Bucket – Keeps the sandpaper and headlights lubricated.
- Plastic Polish or Rubbing Compound – Restores clarity and removes fine scratches.
- Soft Flannel or Microfiber Cloth – Used for polishing and buffing to a brilliant shine.
Step-by-Step Instructions to Restore Your Headlights
Step 1: Clean and Prep the Surface
Begin by washing the headlight lenses with warm soapy water. This removes loose dirt and debris. Rinse thoroughly with clean water and let them dry completely.
Next, use masking tape to carefully cover the area around the headlights. This prevents accidental scratches on your car’s paint during the sanding process.
Step 2: Wet Sanding the Headlights
Soak each sheet of sandpaper in water for at least 5 minutes to soften it and reduce friction.
- Start with 1000-grit sandpaper: Sand horizontally across the entire headlight surface using steady, even pressure. Keep the surface and sandpaper wet throughout. Rinse with water when finished.
- Switch to 1500-grit sandpaper: Sand vertically this time. Alternate direction helps even out scratches. Rinse again.
- Finish with 2500-grit sandpaper: Sand horizontally again until the surface feels smooth. Rinse thoroughly.
Pro Tip: The cloudy water you see while sanding means you’re removing oxidation—this is exactly what you want!
Step 3: Polish for Crystal Clarity
Dry the lens completely with a soft cloth. Apply a small amount of plastic polish or rubbing compound to a corner of your flannel cloth.
Using firm, circular motions, polish the entire headlight. Let the polish dry fully, then use a clean section of your cloth to buff off the residue, revealing a crystal-clear lens.
Step 4: Final Buff and Inspect
Inspect your work in direct light. If you see any cloudy patches, repeat the final polish for a showroom finish. The lens should now look clear, smooth, and almost like new!
Why This Method Works (And Why Drivers Love It)
This DIY headlight restoration is loved for its affordability, ease of use, and professional-level results. Instead of spending $200+ at a repair shop or replacing headlight units entirely, you can revitalize your car’s appearance and safety on your own terms.
Drivers report better nighttime visibility, a refreshed vehicle look, and increased confidence behind the wheel.
Pro Tips for Perfect Results
- Always keep the sandpaper and headlights wet while sanding to prevent scratches.
- Work slowly and methodically—rushing can lead to uneven finishes.
- Apply a UV sealant or clear coat after polishing to protect the lens from future oxidation.
Serving Suggestions? Shine Bright
Once your headlights are clean, why not give your car a full glow-up? Wash and wax your vehicle for an all-around refresh. Clean windows and tire shine can complement your newly clear lenses, making your ride look like it just rolled off the lot.